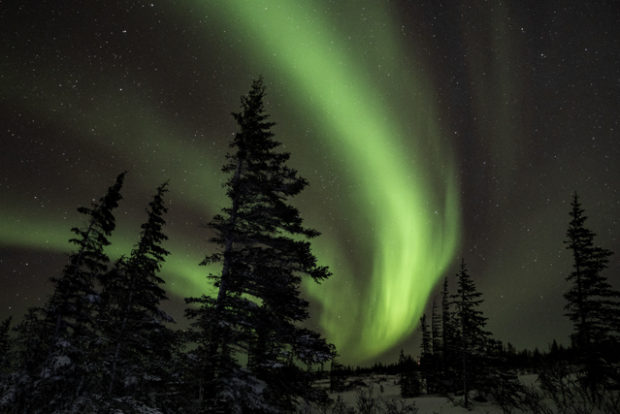
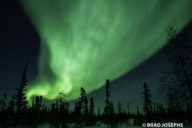
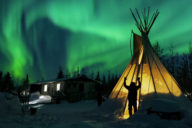
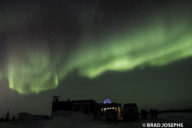
Nothing illustrates how magnificent an auroral display is like a time-lapse. I was very lucky to be blessed with some of the best displays I have seen in many years on 7 of the 8 nights I was in Churchill in early February while guiding aurora expeditions for Natural Habitat Adventures. Not having produced a good aurora time-lapse in a long time, I was very excited to give it a try this season. I bought an intervalometer, which is a device that is plugged into a camera that automatically takes images at set intervals. I would set up the camera, turn on the intervalometer, and leave it alone for an hour or so. Here is what I got…..
Once I was home it was time for the real work to begin. Long story short, I used lightroom to enhance all the stills, then
created slideshows with 24 frames per second (you must download a plugin and install it into lightroom first for these settings). I followed instructions on this helpful blog for the technical info. I made several different slideshows which were exported from lightroom as video files, then imported them into iMovie where I could fine tune the video, add some copyright-free music, and add the titles. Many cameras will create their own time-lapses, but the quality won’t be as good because you are very limited in how to enhance the images as I did in lightroom, but it saves a lot of work. There is a ton of information I provided on this post recently on how and where to go to photograph aurora displays. Please comment below and let me know what you think!
Keep exploring, Brad


3 Comments
great work
I thought it was great . Really gets you excited to go see them again. Thanks for taking the time to put it together and for sharing . You were my guide with James Floyd and my husband the first time I saw the aurora in 2013.
This is really an award winning show. I’m surprised to see the stars through the fabulous light and catching that shooting star. Truly amazing. Thank you for doing this so I am able to see and spread the word about it.